Children’s artwork captures their imagination, growth, and favorite memories. However, drawings, paintings, paper crafts, and school projects can quickly fill every surface in your home. With a simple system, you can preserve meaningful pieces, display current favorites, and keep the rest of the collection under control.
The goal is not to save everything perfectly. Instead, create an easy routine that helps your family enjoy the art without feeling overwhelmed by clutter.
Start With a Simple Sorting System
Before choosing storage products, decide how you will sort the artwork. A basic system makes it easier to know what to keep, display, share, or recycle.
Create four categories:
– Display: Pieces that your child especially loves or that fit your current display space
– Keep: Artwork you want to save for the future
– Share: Pictures to send to relatives, teachers, or friends
– Recycle: Items that are damaged, repetitive, or no longer meaningful
Use four labeled folders, bins, or areas on a shelf. The system does not need to be complicated. The most important part is returning to it regularly so papers do not pile up.
Sort Artwork at a Set Time
Choose a regular time to sort, such as once a week or at the end of each school term. A short routine is easier to maintain than a large organizing project every few months.
Ask your child to help when possible. They can choose their favorite pieces and explain why they matter. This also teaches useful skills such as making decisions, caring for belongings, and keeping spaces tidy.
Create a Dedicated Art Station
A specific place for artwork helps prevent papers from spreading throughout the house. Depending on your space, this could be a small shelf, a rolling cart, a drawer, or part of a closet.
Keep basic supplies together:
– A folder or tray for new artwork
– A storage box for finished pieces
– Clear sleeves or envelopes for delicate work
– Labels and a marker
– Tape or clips for displaying art
– A small recycling container
A dedicated station also gives children a place to put their work when they finish. If the system is easy to reach, they are more likely to use it independently.
Display a Rotating Gallery
Children enjoy seeing their artwork displayed, and a rotating gallery keeps the collection fresh without covering every wall. Choose one area for current favorites, such as a hallway, refrigerator, bulletin board, or section of a bedroom wall.
Use simple display options, including:
– Clipboards mounted on the wall
– A string with wooden clips
– Magnetic frames
– Corkboards
– Removable adhesive hooks
– A large frame with an opening for changing artwork
Set a limit for the display area. For example, when a new piece goes up, an older one comes down. The removed artwork can move to a keepsake folder, be shared with someone, or be recycled.
This approach gives every piece a moment in the spotlight while keeping the display manageable.
Use Folders for Flat Artwork
Large folders are useful for drawings, paintings, coloring pages, and school worksheets. Choose one folder per child or one folder for each year. Label the outside with the child’s name and the date range.
For a more detailed system, divide the folder into sections such as:
– Drawings
– Paintings
– School projects
– Holiday artwork
– Special milestones
Avoid stuffing too many papers into one folder. Overfilled folders can bend or damage artwork and become difficult to browse. If a folder is full, review the contents before adding more.
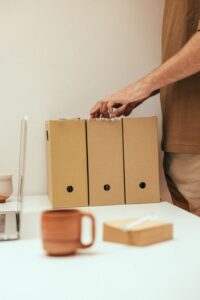
Accordion files can also work well because they include separate sections and are easy to store on a shelf.
Protect Special or Delicate Pieces
Some artwork needs extra care. Paintings may stick together, while crafts made from thin paper can tear. Store delicate pieces flat in protective sleeves, envelopes, or archival-quality folders.
Keep artwork away from:
– Direct sunlight
– Damp areas
– Heat sources
– Crowded storage spaces
– Food and liquids
You do not need expensive supplies for every item. Reserve protective sleeves or sturdy boxes for pieces that are especially important, fragile, or difficult to replace.
For three-dimensional projects, use a labeled container with enough room to prevent crushing. If a project is too large to store easily, take a photo before deciding whether to keep the physical version.
Photograph Artwork Before Storing It
Taking photos is a practical way to preserve memories without keeping every object. Photograph each piece in good light, preferably near a window, and make sure the full artwork is visible.
For three-dimensional creations, take photos from more than one angle. You can also include your child holding the project to capture its size and the moment it was made.
Create a digital album for each child or year. Use clear file names, such as:
– Emma 2026 rainbow painting
– Noah spring paper house
– Ava kindergarten self portrait
Add a short note about the project when it helps. You might record your child’s age, the occasion, or a funny comment they made about the artwork.
Turn Favorite Pieces Into Keepsakes
Some artwork can become useful or decorative items. Consider turning selected pieces into:
– Greeting cards
– Gift wrap
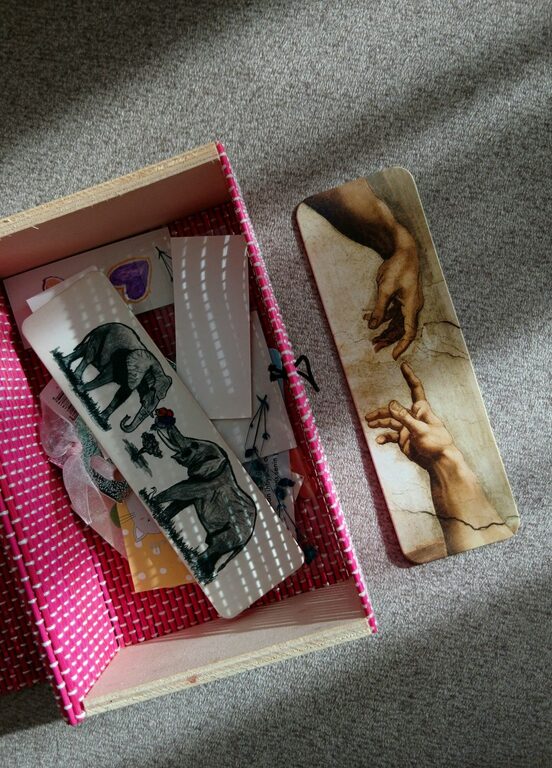
– Bookmarks
– Calendars
– Photo books
– Collages
– Decorative labels
– Framed artwork
A collage is especially helpful when you want to preserve several small drawings together. Let your child choose the pieces and help arrange them.
You can also create a yearly art book using photographs or scanned copies. Add the year and a few favorite memories to make it more personal. A small book is easier to revisit than a large stack of loose papers.
Set Reasonable Limits
Storage limits make decisions easier. Choose a specific number of boxes, folders, or shelves for each child. When the space is full, review older items before adding new ones.
A limit does not mean you value the artwork less. It simply encourages thoughtful choices. Keep pieces that show growth, represent an important event, or hold special meaning for your child.
For similar drawings, keep one or two favorites and photograph the rest. If your child feels strongly about keeping something, give them a little time before making a final decision. Sometimes they are ready to let go of items after seeing them again later.
Make Cleanup Part of the Art Routine
The easiest way to stay organized is to include cleanup in the creative process. After an art session, ask your child to:
- Let wet artwork dry in a designated spot.
- Put finished pieces in the art tray.
- Return supplies to their containers.
- Recycle scraps and unwanted papers.
- Wipe the work surface if needed.
Use simple labels and pictures for younger children. A short cleanup song or timer can make the routine feel more natural.
Review the Collection Together
Once or twice a year, look through stored artwork as a family. This is a good time to remove damaged pieces, update digital albums, and select new favorites for display.
Make the review positive rather than critical. Talk about how your child’s ideas, skills, and interests have changed. Even a simple drawing can be meaningful if it reminds your family of a particular age or stage.
With a consistent sorting system, a dedicated storage area, and regular opportunities to display and review artwork, you can protect the pieces that matter most while keeping your home organized. The best system is one your family can use easily and enjoy together.